Toy Organization Boot Camp
Psst…. Have you checked out the Resource Library, yet? Sign up for our email list and gain access today!
This post may contain affiliate links which means I receive a small commission at no cost to you when you make a purchase. As an Amazon Associate, I earn from qualifying purchases.
Alright!!! You’ve shipped the kids off, gathered your supplies, and identified storage areas. Today is the day you will conquer those toys! Let’s start the Toy Organization Boot Camp!
Where to Start the Toy Organization
You want to start in one corner of the room. In order to save time, you do not want to be bouncing around from one place to another all day. This will only help you lose precious time that you've intentionally set aside for this task. Pick a corner and begin there.
I'm in the Corner – Now What?
Set up all of the supplies that you prepared. As you start going through toys you want to sort them. Here are the sorting sections I recommend:
Broken Toys
All broken toys need to go into a trash bag. I am very strict with my kids that if they break a toy they no longer get to have it. However, if broken toys run the risk of being missed, you can put them in the cardboard boxes mentioned below. Ideally, you should throw them out and ask for forgiveness later. My kids know that we will not keep broken toys.
Also, if there are toys that have broken and torn boxes as their packaging, go ahead and get rid of those. You can store the items within in storage containers or ziploc bags. Who wants to keep messing with a ripped box for a deck of cards anyways?!
Toys that are Rarely Played With
Any items that you haven't seen your kids play with in a while need to go into the cardboard boxes. These are not trash! I'll explain what to do with them later. Think of the cardboard boxes as items you want to get rid of, but your kids may not want to.
Sort By Type
Sort by type – not by set. Most toys these days, especially figurines, come in sets. Before you know it your kids end up with 40 different figurine sets (guess how I know this…). You can separate these toys by type rather than by set.
For instance, we have a Peppa Pig family, Toy Story characters, How to Train Your Dragon sets, and on and on. I am not storing each and every set separately. We put all of these items in a bucket that we call the “figurine” bucket. The kids can pull out a specific set, or play with them all at once.
Pile the Toys Up
For the initial sorting of the toys, don't worry about putting items in storage containers. Just make piles of like items. As you move out of your starting corner, create new piles or add to existing ones.
Once you start getting into the boot camp you may realize that some piles don't make sense. Or, some piles are too small and need to be combined. This is great! Ultimately you want to find the best way, using the smallest amount of space, to group the toys together.
Touch All of the Toys
Touch every single toy. Pick them up. Sort them. Dump out any current storage containers. Move bigger items to see if smaller toys are underneath. This process ensures that all of the toys get organized. Again, you've set aside this time specifically to organize the toys. Don't cut corners because it is not worth it in the end.
Clean Up the Toys
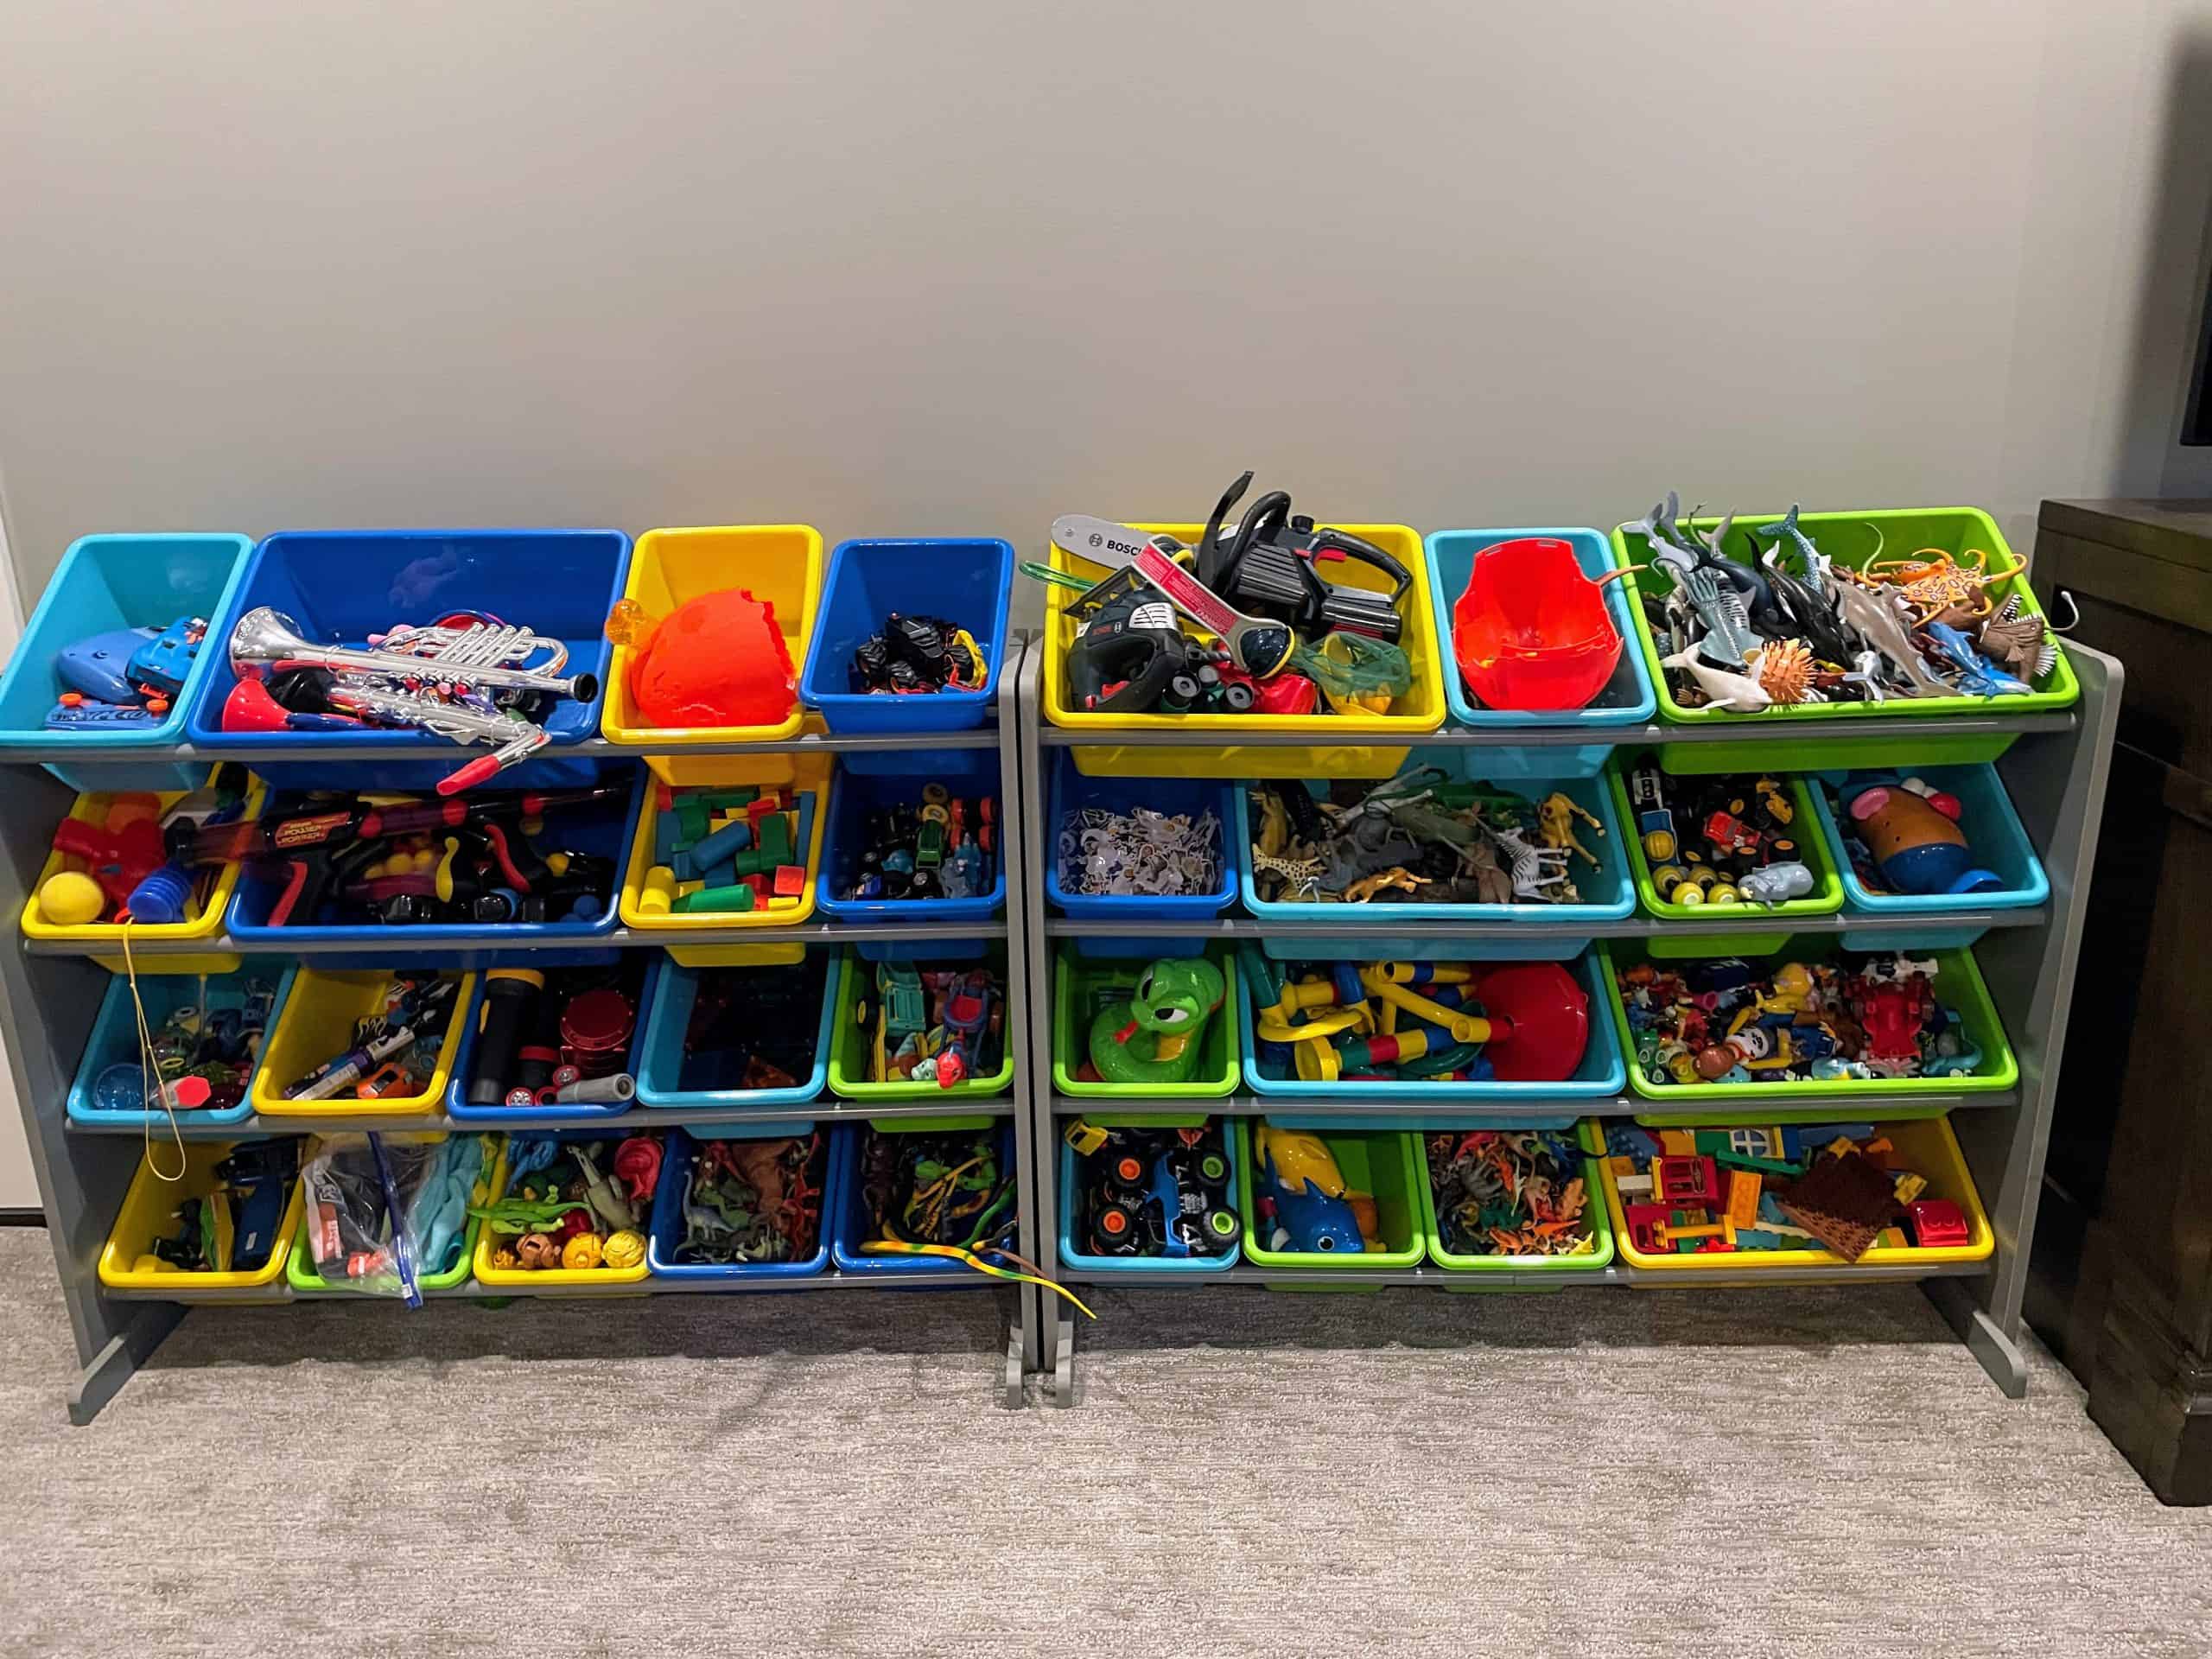
Once the sorting process is completed, it's time store the toys in an organized way. Frequently played with toys need to be the easiest accessible. I keep our regularly played with items in storage cubes in our upstairs living room. The kids can grab a bucket to play, and the buckets make pickup easier.
You also want to put those ziploc bags to good use! Think of using them for playing cards, legos, craft supplies, manuals, etc. I always have multiple sizes of ziploc bags easily accessible for toy organization.
Utilize any additional storage places that you identified during your prep work as you start to put the toys away. I would start with the biggest piles and then work your way down to the smaller piles. By doing this, you will eliminate running out of large storage containers or storage areas. It will be much easier to find a spot for little toys than big ones at the end.
When the Job is Done
Once the toys are sorted and put away, it's time to clean up your organization tools. Throw out all of the broken toys that you put in trash bags. If your children are nosy, like mine are, you may want to ensure you can put trash on top of the bags to avoid any freak out down the road.
Next, take the cardboard boxes with rarely played with toys and store these somewhere. Where you store them needs to be easily accessible for you, but also out of sight for your kids. Store them for 2-3 weeks. Your child will more than likely recognize that some of these toys are missing. At that time, you can see if you can redirect their attention, and if not, go ahead and give them the toy back. If they do not ask for the toys back I suggest donating them.
For those with toys in multiple areas of the home, I suggest starting this boot camp over for each room. If you feel eager and want to tackle all of the rooms at once – that's fine. However, it is also acceptable to complete one boot camp per room. If you happen to find toys in the other areas of your home that are similar to the ones you have already organized I recommend combining them.
Conclusion
Congratulations! Your toys should be much more organized now that you've completed the Toy Organization Boot Camp. If you followed the process you should feel pretty good about all you accomplished today. Next, I will show you how to keep those toys organized, as well as explain how to get your kids to keep them that way too!


