Your Guide on How to Declutter Photos
This post may contain affiliate links which means I receive a small commission at no cost to you when you make a purchase. As an Amazon Associate, I earn from qualifying purchases.
In the world of decluttering, we are often asked how to declutter photos. I've thought about this process and feel that there are two methods you can use for decluttering photos. Method 1 is switching all your pictures to a digital storage method. This one can be a little time-consuming, and not everyone wants to or can upload their photos to a computer. It can also be costly if you try to outsource. Method 2 will still take time, but once you complete the decluttering process of your photos, you just have to maintain from there. Let's break down each option to find which is perfect for you!
Method 1 – Switch to Digital Storage
Switching your photographs to digital photos is the ultimate decluttering method for old photos! The downside? You have to work on making those photos a digital file or outsource them to a service that will convert them for you. By following the steps outlined below, you can eliminate all of the photo clutter in your house. The goal here is to avoid letting go of sentimental items. by repurposing them and clearing the clutter.
Step 1 – Decide How to Go Digital
Alright, it's decision time. You know that you want to move your pictures to a digital storage solution, but now we need to decide HOW you want to do it. We will cover manually going digital and outsourcing the digitizing.
Manually Going Digital
If you are tech-savvy, you can convert your physical photos to a digital file in a few different ways:
- Use a Scanner App on Your Phone
- Use a Scanner
- Take a Picture
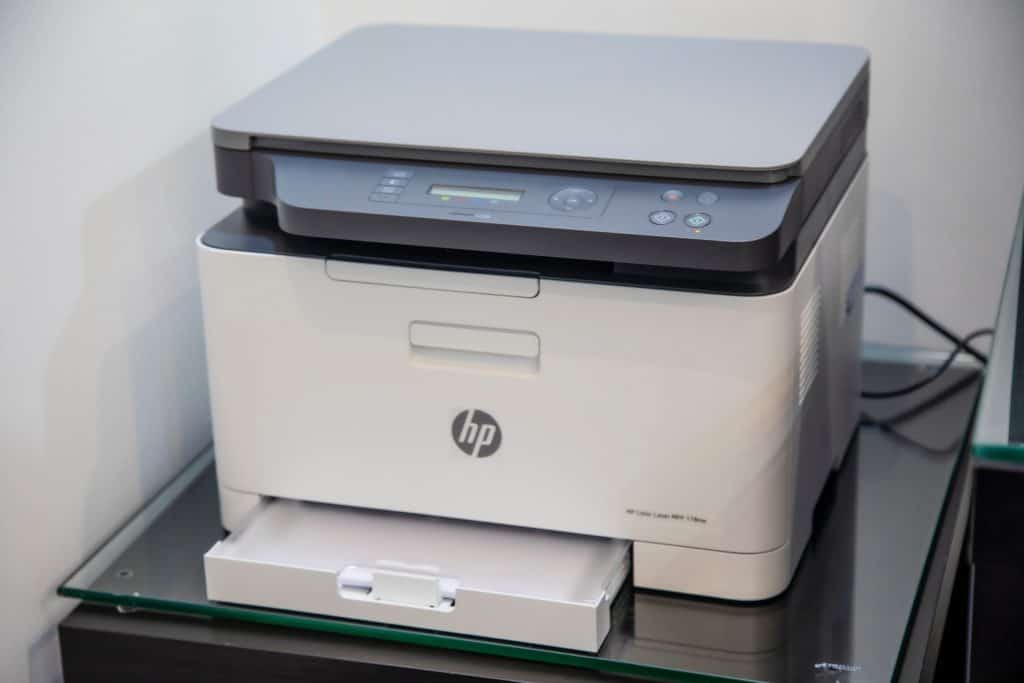
Apple Notes, Adobe Scan, and Scanner Pro are all excellent app options that will enable you to use your phone to scan your photos. If you already have a scanner, you can hook it up to your computer and check each photo individually. Or, you can take a picture of the pictures you want to store digitally. This could lead to some distortion, but the memory would be saved.
Whichever method you choose, make sure you know where you are saving them on your computer. Create a new folder so you can easily find them. You will also need to block out some time to get this done. Depending on how many printed photos you have to declutter, this could be quite the undertaking, so be prepared for that!
How to Organize Your Digital Files
After converting your pictures to a digital file, you will want to move them off your computer. You don't want all of the photos to slow down your computer. I move mine over to an external hard drive. I also use the hard drive to back up my pictures and videos off of my cell phone. Plus, you will be amazed at how much storage the external hard drives have.
Outsourcing the Digitizing
If you don't have the time to go through your pictures and scan them individually, outsourcing options exist. Check out ScanMyPhotos.Com. They have a few options depending on your needs. They offer pricing per photo or a bulk purchase where they send you a box, and you fill it with photos for them to scan for you. If you have the funds and don't want to do the manual method above, outsourcing those digital photos might be your best choice!
Step 2 – Sort Your Photographs
Now that you know how you want to get your physical photos transferred to a digital option, it's time to go through your physical pictures. Follow these decluttering steps to figure out which photos you want to digitize:
- Gather all of your photos
- Sort by event (if possible)
- Sort by type (school photos, family photos, vacation, etc.)
- Go through each pile and choose your keepers.
- Start digitizing your photos
Step 3 – Clean Up
Since digitizing could take some time, you can put your keep photos in a pile to be uploaded or shipped off for digitization. For the other photos, the ones you deemed not to keep a digital copy of, you will need to get those out of your house. You can either throw them away, check with a family member, or shred them (although unnecessary).
The goal of decluttering is to eliminate excess clutter. So before you start digitizing photos, remove the ones you don't want to keep. And – after you digitize – get rid of those originals.
Method 2 – Declutter and Organize
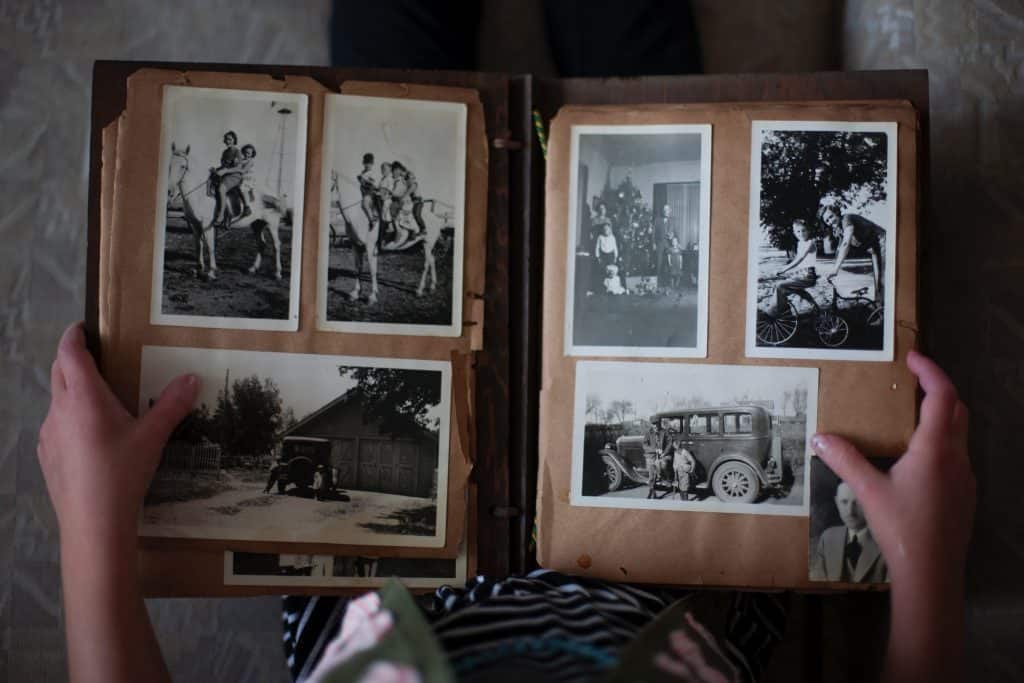
If you prefer to keep photo albums and hold on to the physical copy of your pictures, you will still need to declutter them before you can organize them. I guarantee not EVERY photo you have needs to be saved. Let's find those keepers by going through all of the pictures.
Step 1 – Gather All of Your Photos
Depending on your home's layout or condition, this could be a time-consuming project. The goal is to ensure you get ALL of the physical photos you have in your house. Think about in the office, in the bedroom, in photo albums, in photo envelopes, in the attic, and even under the bed. Wherever you have stuck pictures, find them so we can get them all decluttered and organized.

Step 2 – Sort By Year or Event or Person
Once it's time to sort your photos, I recommend having a plan before you start making your piles. Many items we declutter are straightforward with what pile to put them in, like to sell or to trash. The pictures are a bit different. You do not want to go down a rabbit hole with this process to the point that you are remembering the events of every picture you have. It is OK to get all the feels, but it is more important to get the work done.
You also want to declutter as you sort. For instance, if you have three incredibly similar photographs, you can probably just keep one. Sorting them based on the year, the event, or the person will help you catch any duplicate photos you might have.
How to Store Photos
Take a minute to decide how you want to store or display your photos in your home. What is YOUR GOAL? How do you want to access your photos? Do you need to access them, or will they be put in storage containers? All these questions help you determine how to sort the photos when you begin.
If you will be storing it in your closet or somewhere temperature controlled, you can look at photo boxes for storage. If they go to the attic or basement, I would box them in an organized manner and then place them in a plastic storage container. Lastly, if you are updating photo albums, you can make them blend more into your decor by wrapping the spines and displaying them on a bookshelf. There are so many pattern options, but here are some that I like.
Step 3: Organize Photos and Clean Up
When it comes to how to organize photos, utilize the storage solutions you've chosen. Don't cut corners here! You've done the hard work of sorting and decluttering, so don't allow yourself to quit when it comes to putting them away. If you leave some undone, likely, you won't come back to finish the job.
After you have them all put up and displayed or stored how you want them to be, you can clean up all the trash. If you decide that you want to change the storage solution you have picked, make a note of it – but don't just leave the current storage out!
Final Thoughts
Which path will you choose? Method 1, where you work to scan and organize your physical photos to a digital product on your own or hire a service? Or, what about Method 2, where you keep the majority of your physical prints but still display them and store them in your home? Whichever method works for you, don't stop halfway through! Pictures are one of those great things you can declutter and not have to touch again for quite some time!
If you need a checklist to declutter your home or want to be walked through how to start decluttering your home today, I have some great resources for you! Thank you so much for reading; let me know if you have any questions on how to declutter photos!


